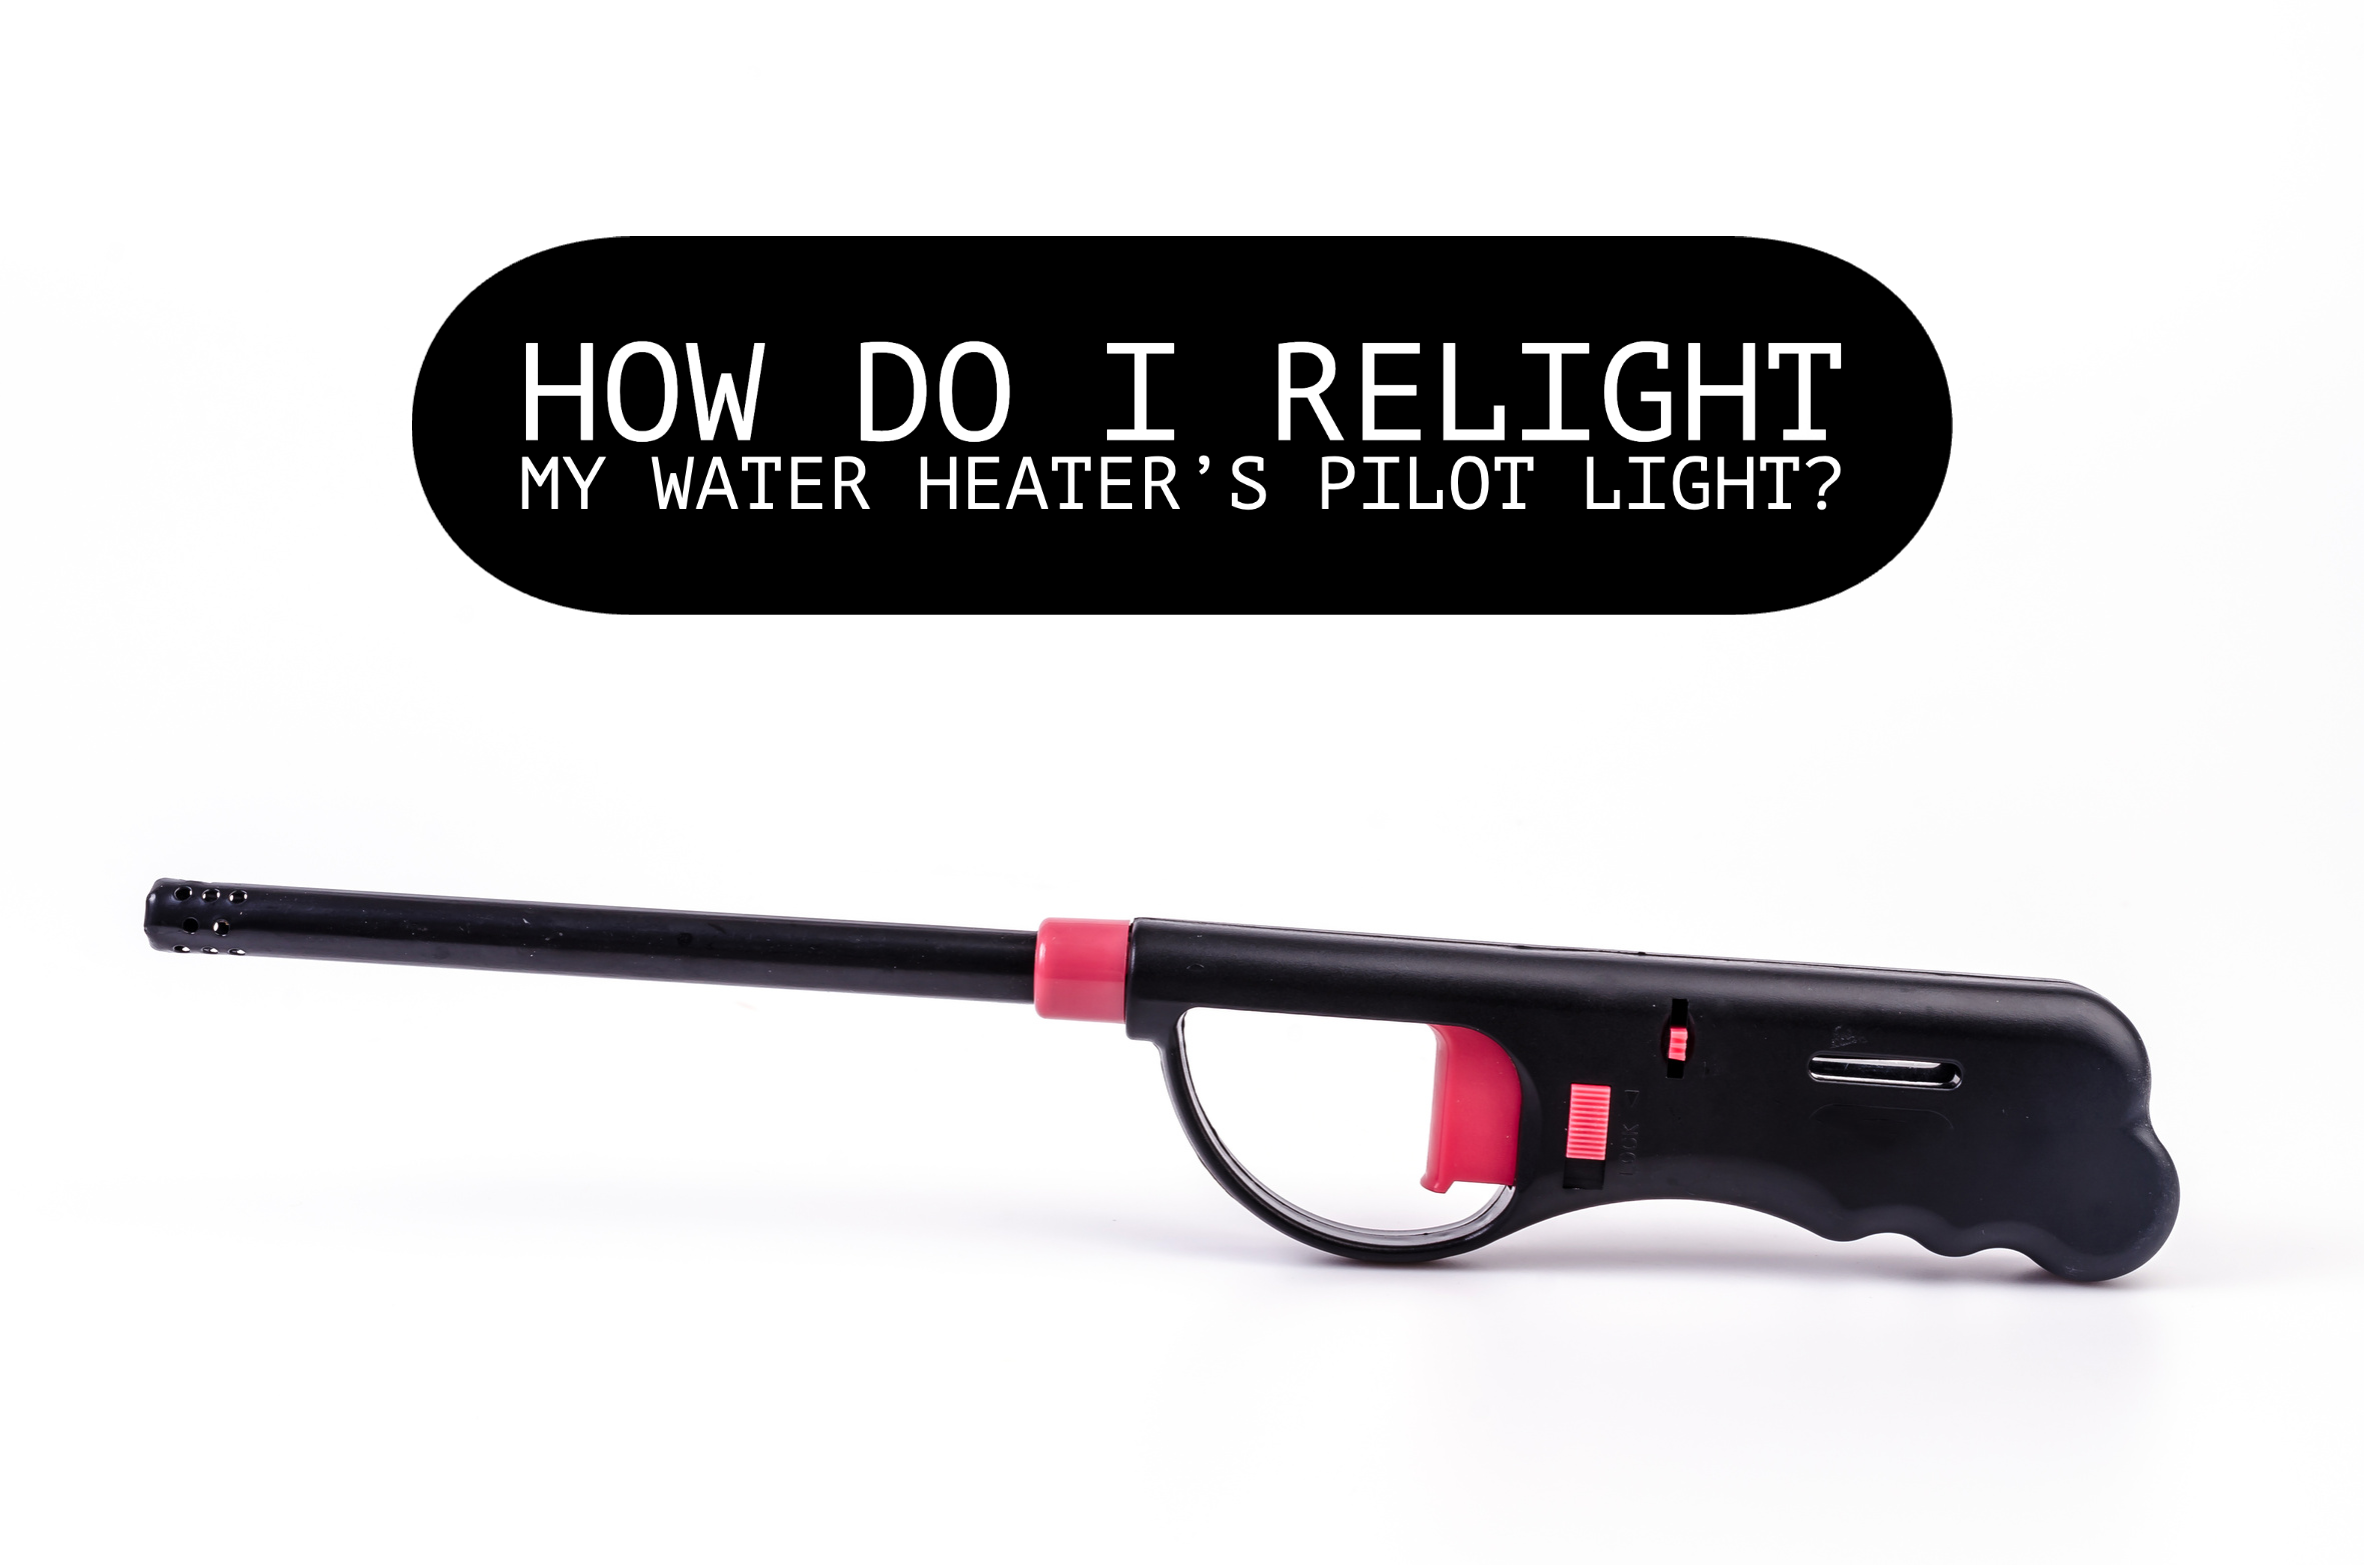
Ohio’s winters are cold and relentless! So, having warm running water is a must. However, if you are currently dealing with no warm running water in your household, you may very well be dealing with a pilot light that has been blown out on your water heater. Have you relit your pilot light before? If not, Lancaster Plumbing & Drain is here to help guide you! Keep reading for a step-by-step instructional to guide you through relighting your water heater’s pilot light.
WHAT TOOLS ARE NECESSARY FOR RELIGHTING YOUR WATER HEATER’S PILOT LIGHT?
- A long-reaching lighter or matchstick
- A flashlight
WHAT ARE THE EIGHT STEPS FOR RELIGHTING YOUR WATER HEATER’S PILOT LIGHT?
- Before you proceed, make sure to turn the gas off by flipping the valve on your water heater to “off” – an imperative step when dealing with gas. For optimal safety, wait five minutes before beginning any next steps in the process. This will ensure that all of the built-up gas has had enough time to fully disperse.
- Now, it’s time to locate the pilot light opening. Known as a burner cover, this is typically situated near the base of your water heater and hidden behind a door or panel for protection; this opening may not be present on some models. If your water heater has one, gently remove the burner cover and set it aside as you continue your task.
- If you think that your pilot light keeps getting extinguished, it is likely caused by a buildup of dirt or debris in the vicinity. We suggest carefully cleaning the assembly with a brush, toothbrush, or even a cotton swab to fix this issue. This should clear away any obstructions and aid in making sure your pilot light remains lit!
- After a minimum of five minutes have passed, rotate the knob on your pilot light assembly to “pilot.” This will provide a temporary stream of gas to your pilot burner so that you can ignite it.
- Then, to ignite the pilot light, press and hold down the “reset” button with one hand while carefully bringing an ignited lighter or matchstick near the burner with your other. When you see the pilot flame spark up, release pressure from the “reset” switch — and voila, your pilot light is once again relit! Make sure to practice caution throughout this process for safety reasons.
- Observe the pilot flame and take a moment to ensure it is burning steadily with an alluring bluish tint. If everything looks correct, your flame should remain lit!
- Be sure to turn the gas supply on once again.
- Don’t forget to securely place the burner cover back in its rightful location.
Congratulations – you have successfully relit your water heater’s pilot light! However, if you are somehow still encountering issues with your water heater, call Lancaster Plumbing & Drain today (740) 796-8998, or schedule an appointment online now by clicking here!


